Quick & Inexpensive Upgrade to an Old Chandelier
Alex and I still haven’t changed out any of the light fixtures since we bought the house four-and-a-half years ago. There has been so much else that needed to be updated that it has been low on our list of priorities. That being said, the one light fixture that has always really bugged me is the chandelier in the dining room. The black metal darkened the room and stood out starkly against the light grey walls. As a “quarantine project,” I finally got around to updating the light fixture to better fit the style of our dining room and I am so happy with how it turned out!
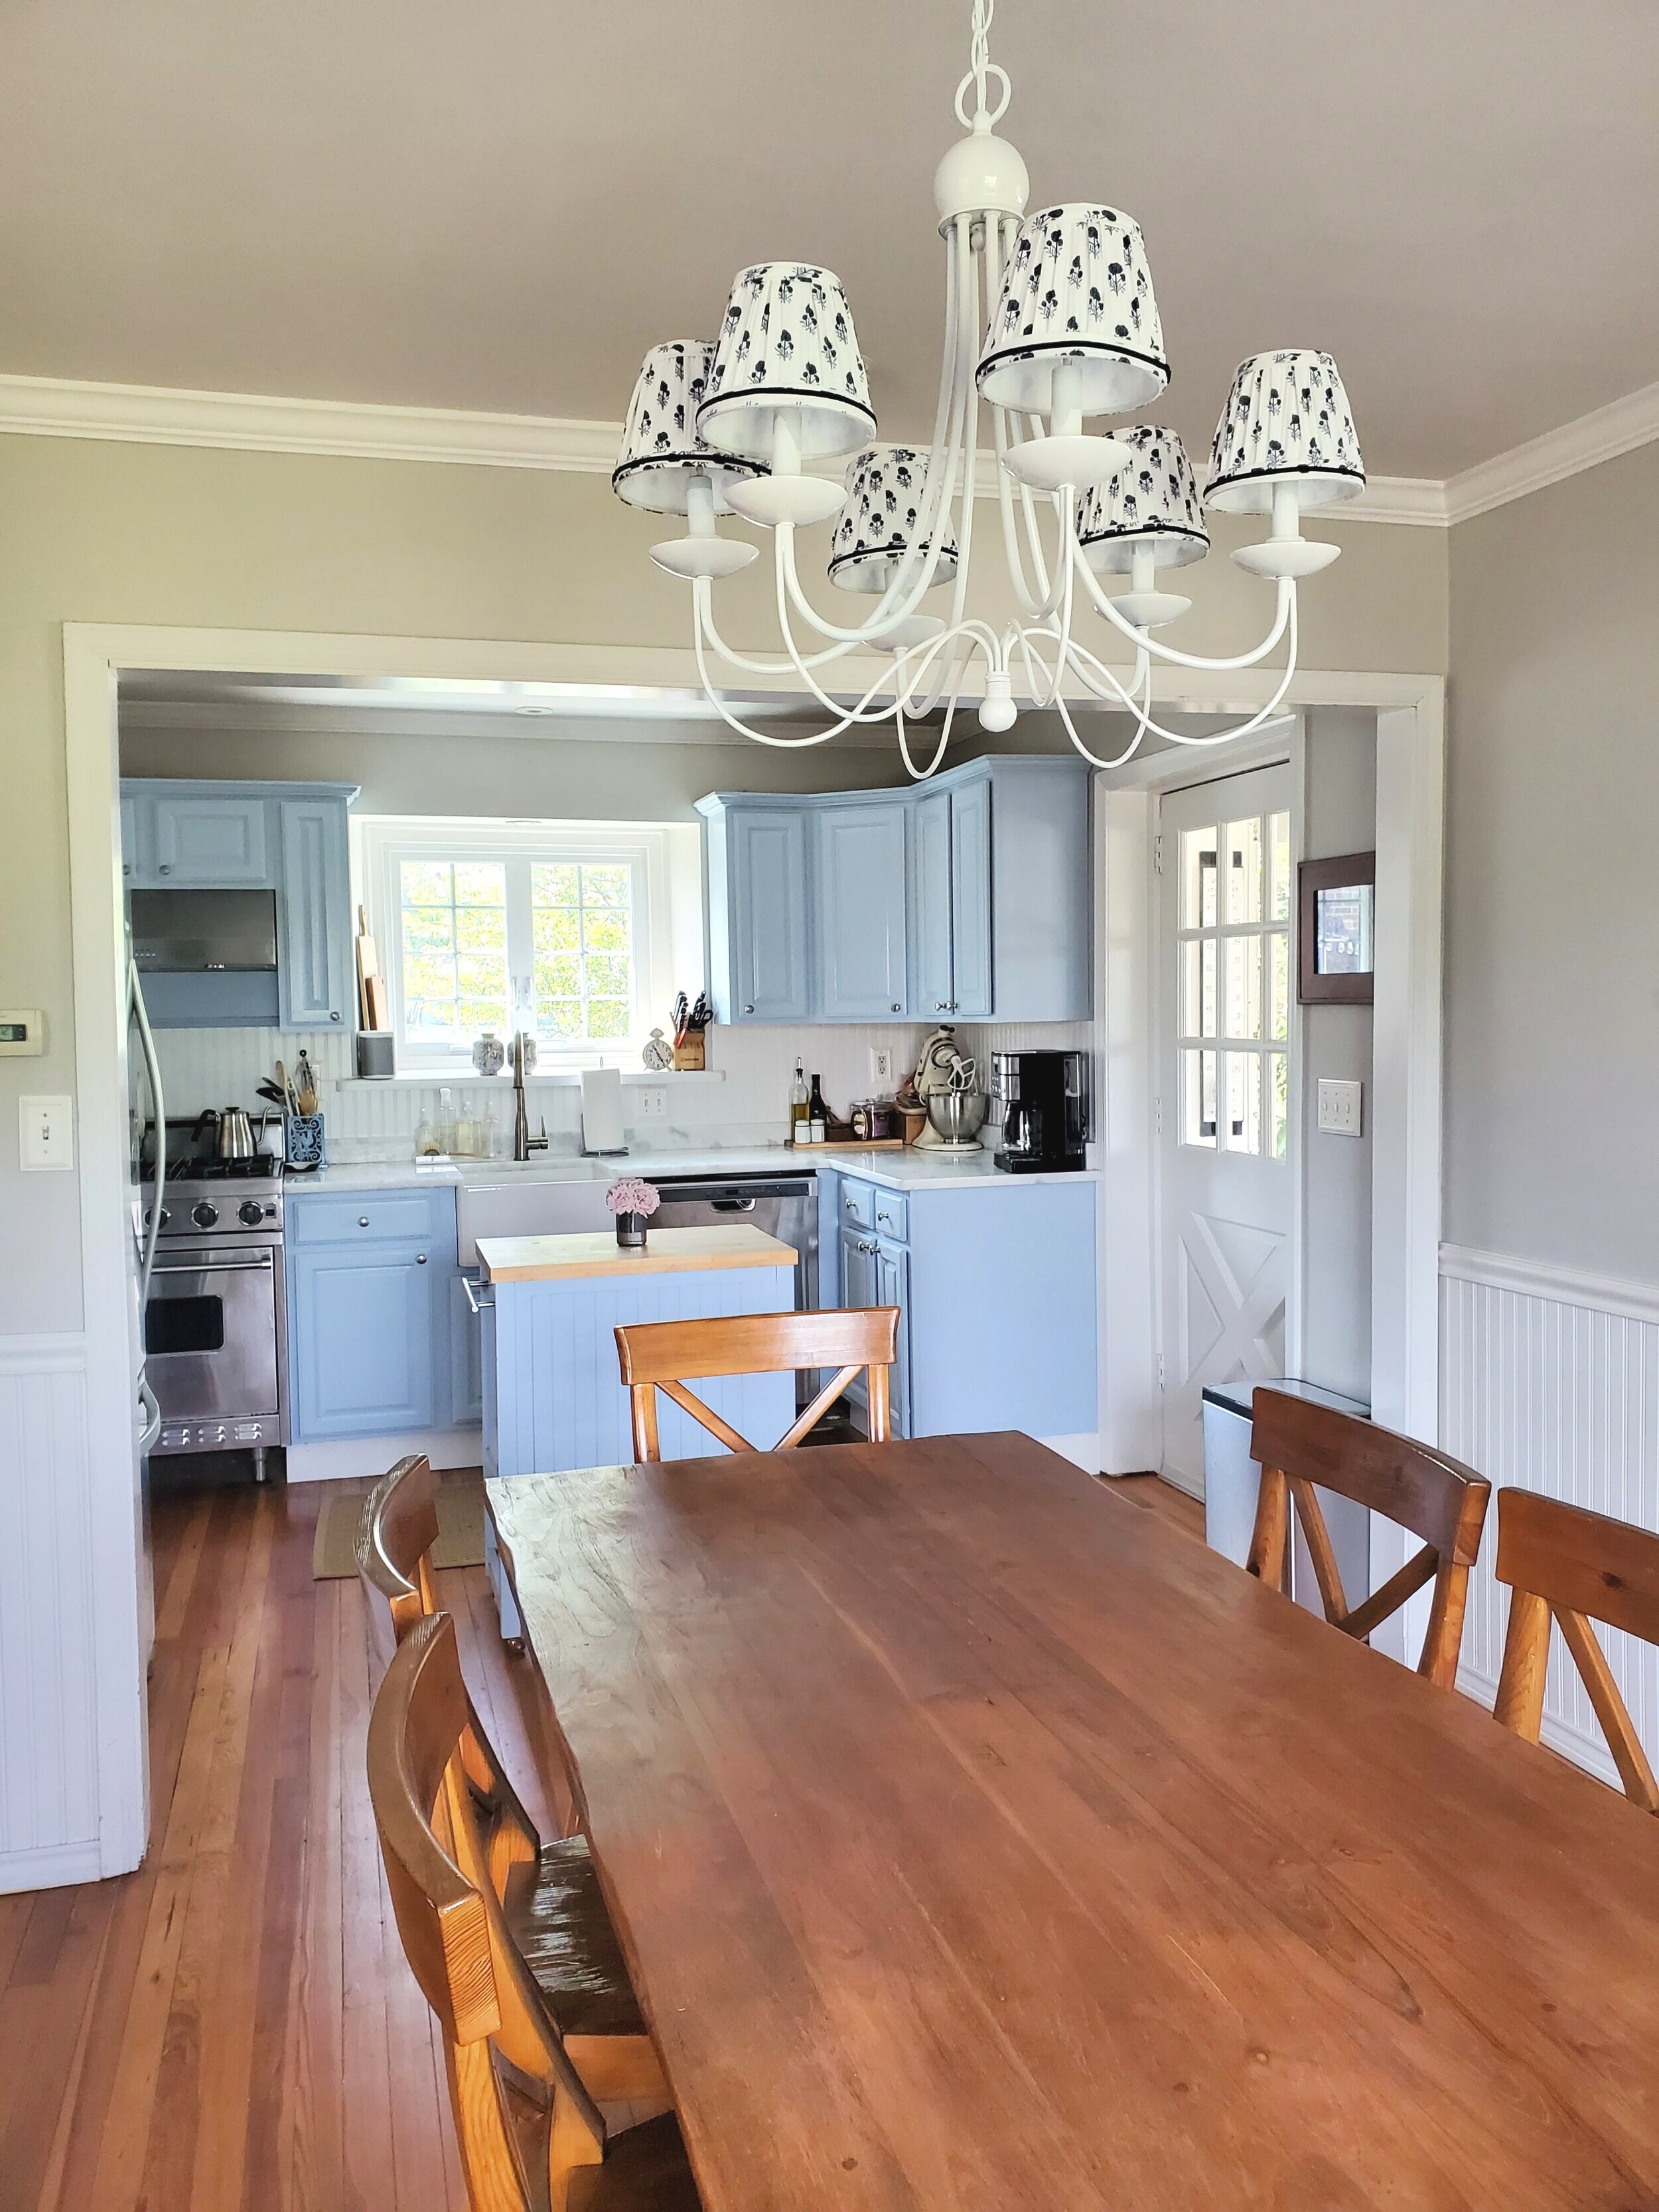
I snapped this “after” photo once I had spray painted the chandelier white and swapped out the shades.
I absolutely love the Alberto Chandelier by Julie Neill for Visual Comfort which I first saw on the One Kings Lane Instagram. Unfortunately, it was way over budget so instead I used it as inspiration to spray paint my existing chandelier in a glossy white finish. I swapped out the old yellowing shades for a fun block print shade from Ballard Designs: https://www.ballarddesigns.com/limited-edition-anais-pleated-chandelier-shade/533867
“Before” the chandelier was black with dated shades. It made the room feel much darker and drew your eye up-and-away from the table.
I was nervous to take down the chandelier on my own (this being my very first foray into electric work) so I watched a ton of YouTube videos before getting started. I cut the power on the circuit breaker, unscrewed the chandelier, removed the bulbs and used painters tape to cover the sockets. Then I spray painted the entire chandelier, let it dry, and brought it back inside to rehang. Overall, the electric work was much easier than I expected! The spray painting was the hardest part and I wish I had fashioned some type of rig to spray paint it while it was suspended in air as opposed to resting on some cardboard in the grass. Because of the awkwardness while spray painting, I had to do some extra touch up work once the chandelier was rehung.


The room looks much brighter and more airy without the black chandelier in the middle. This was a quick and inexpensive update to an old chandelier that made a BIG impact on my dining room. What do you think? I hope you like it!